Copyright 2021 Queenidog - All Rights Reserved
Matrix Display
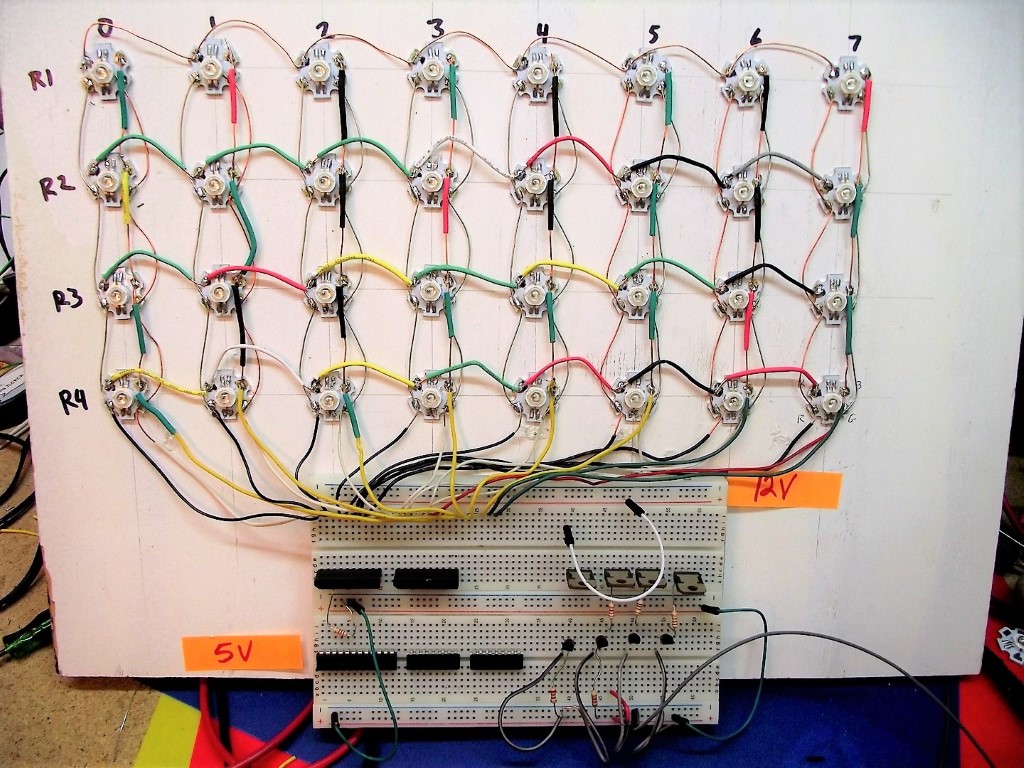
Unlike 98% of this type of "hobby" display, mine is high-intensity using 1 watt pixels (a pixel is combination of red, green and blue LEDS). Each consumes 100 mA at 12 volts.
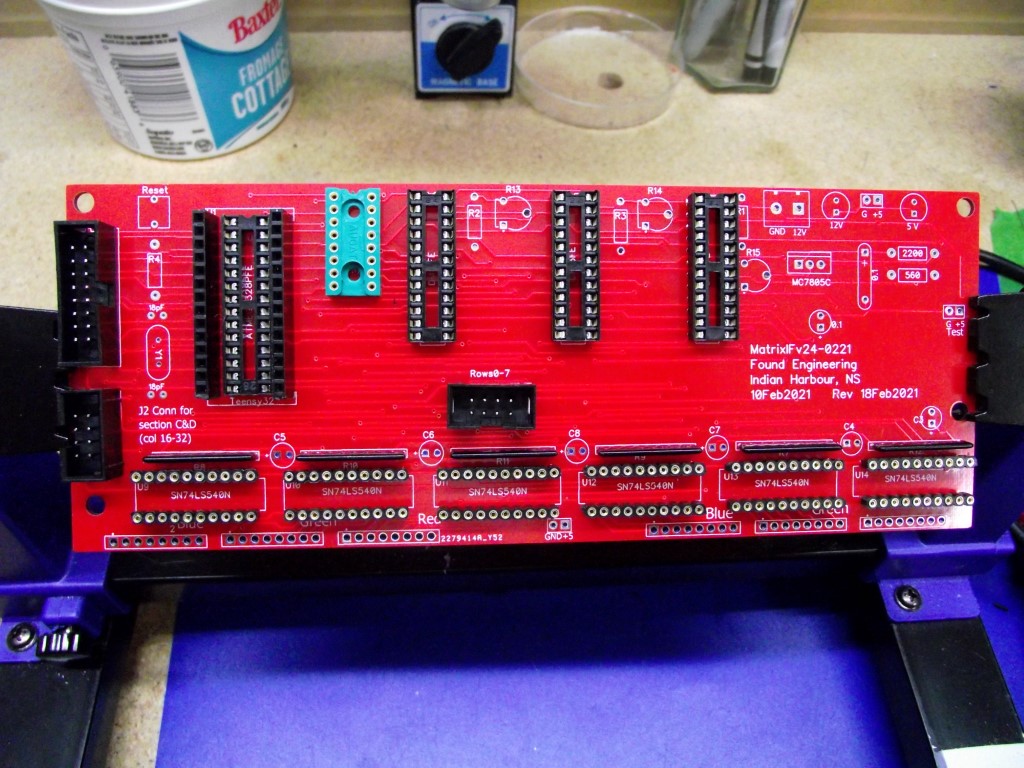
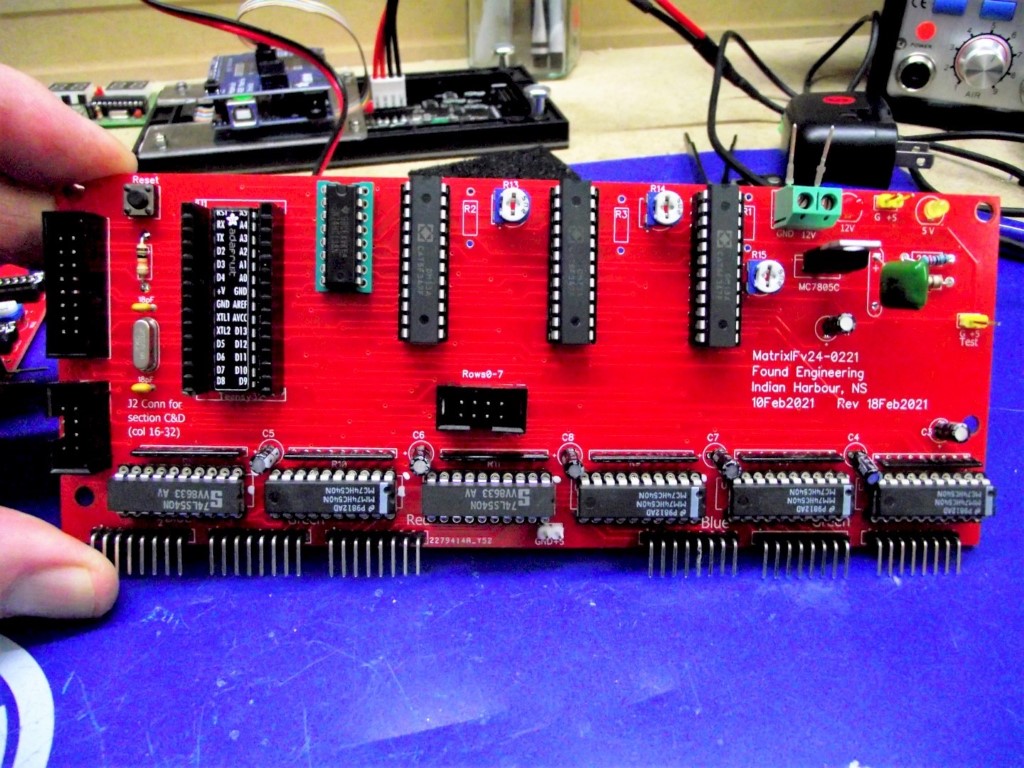
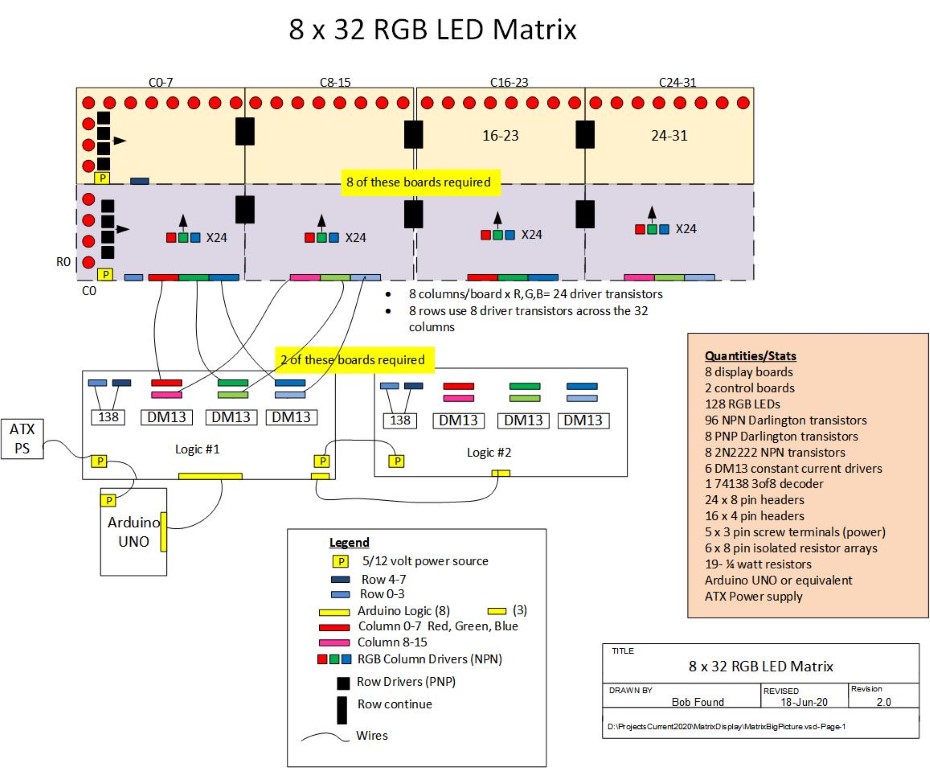
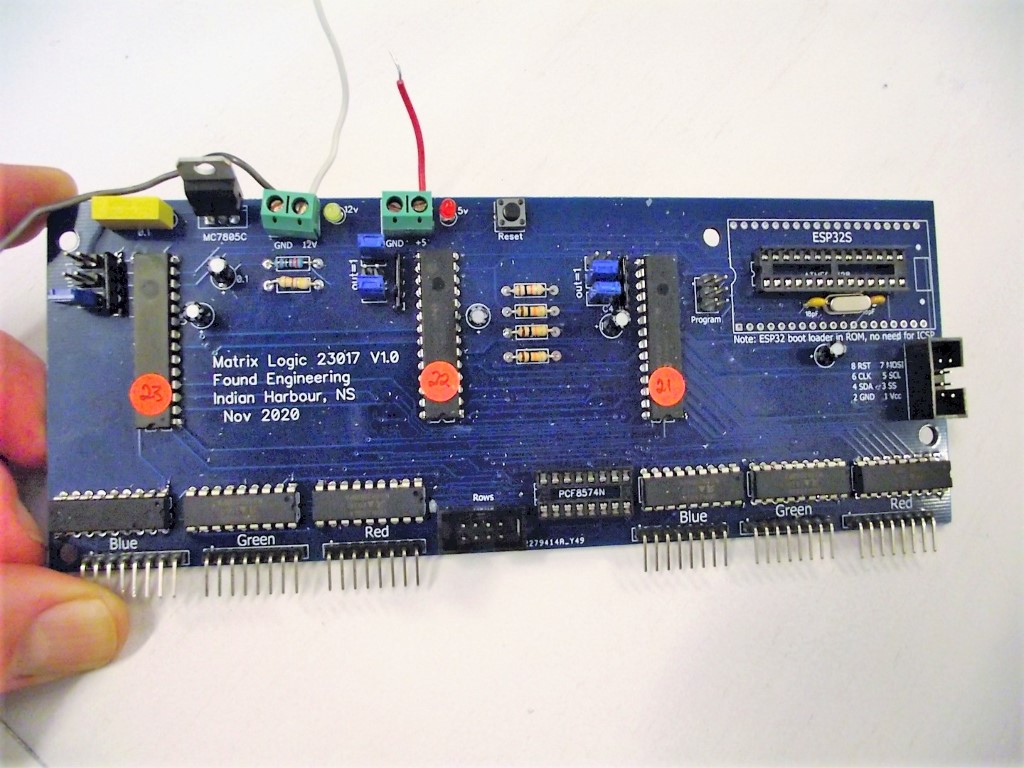
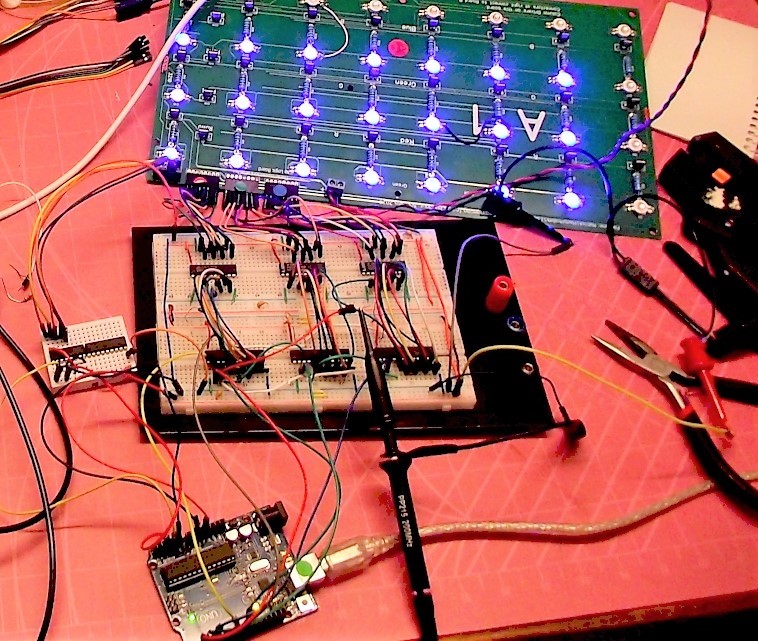
I had three interations of the logic board to control this display, i.e. I made 3 different boards. The first had the Arduino off-board, the second had the Atmega 328 MCU (as used in the UNO) on-board with 23017 port expanders. Third board uses DM13 LED latches and 74HC540 driver ICs. (I actually had FOUR different boards...see Phase 2).
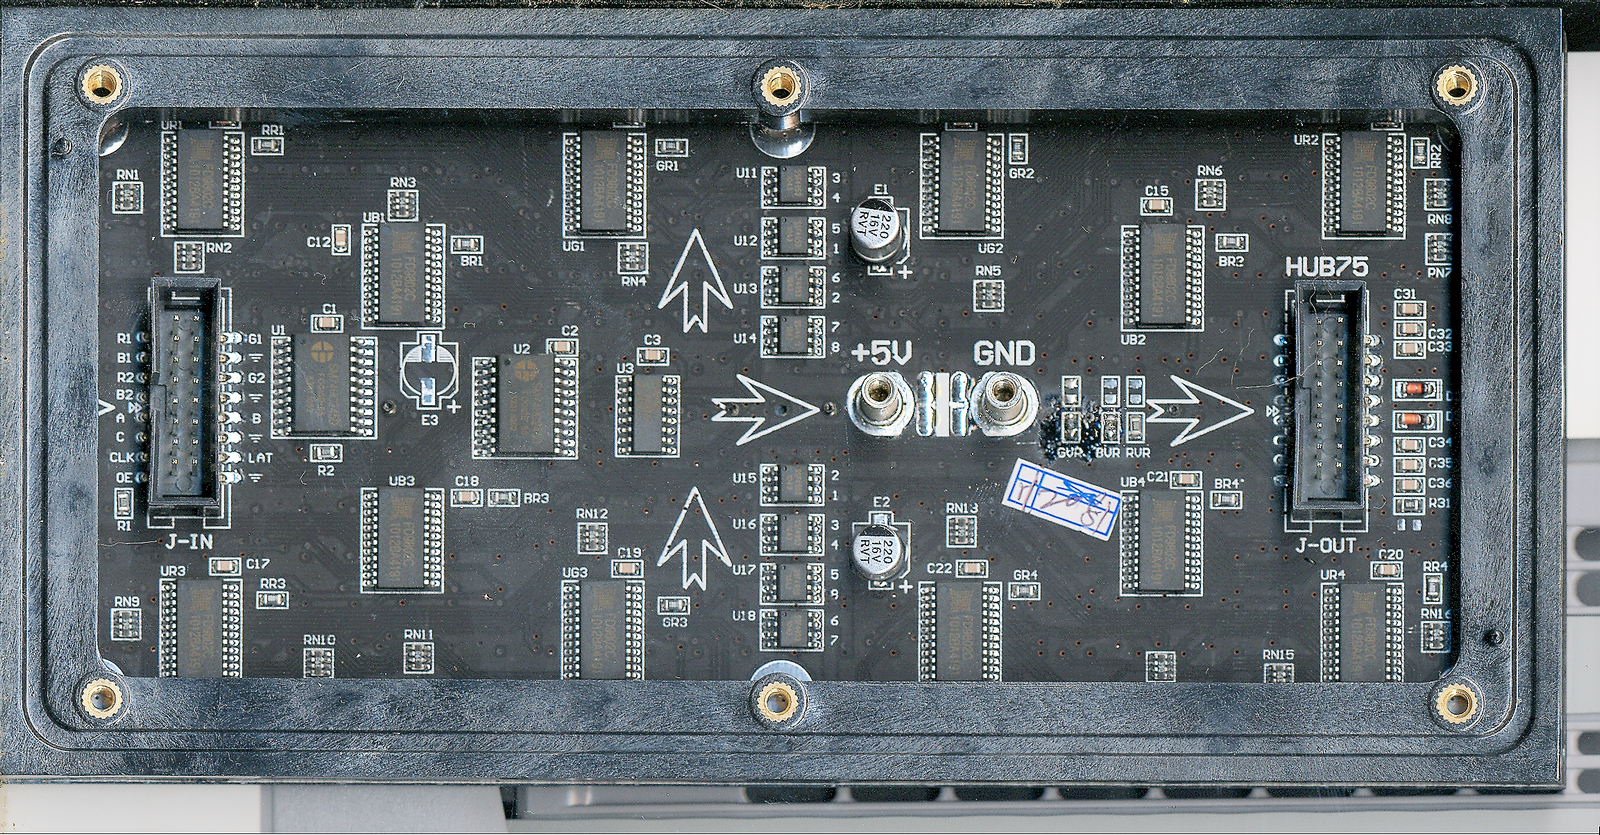
I first used 23017 port expanders and while this worked, it would be slow. And...I didn't have any libraries to use to facilitate getting graphics and scrolling text on the display. It would take me a year to write the software. So I scrapped this plan and mimicked an Adafruit 16x32 LED display conforming my logic lines to the HUB75 protocol. That way I could use Adafruit's excellent libraries not only for the panel but their GFX library they supply with all their graphic display sales. It worked!
Sunday, April 04, 2021
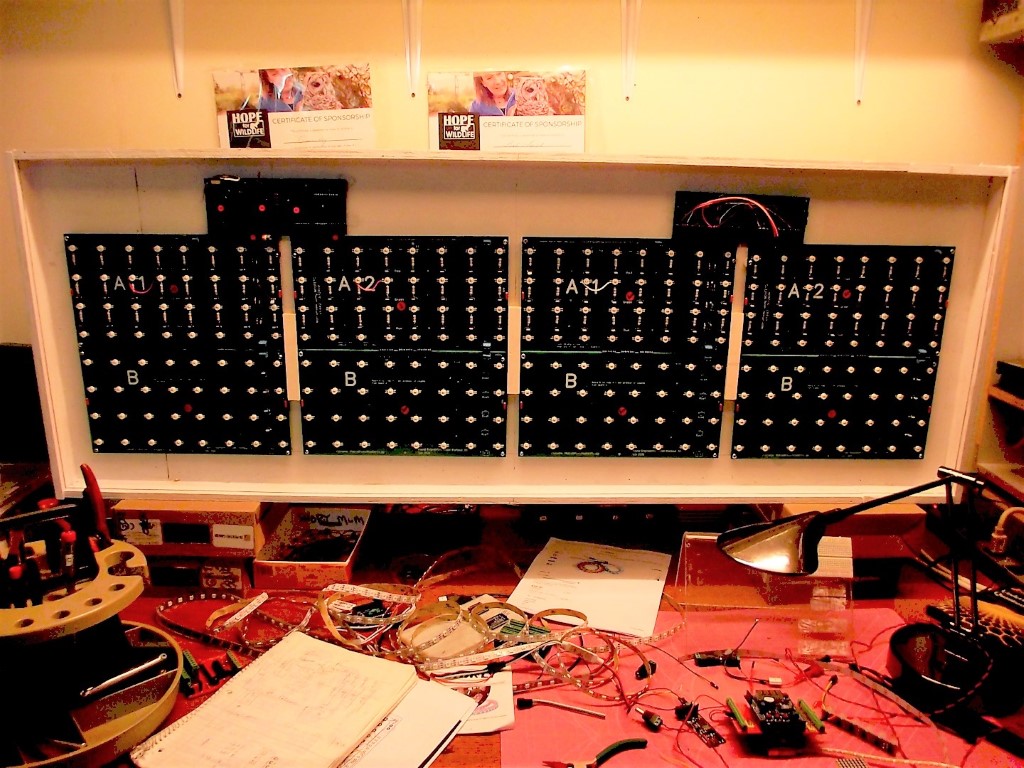
Of all the projects I've made over the years, none has been on my List-of-Things-to-Make, more often than a matrix display. In fact I went on record (on TV news) in 1982 stating this. Well, technology finally caught up and I started my matrix display in Jan 2020 and completed Phase 1 of 8 rows x 32 columns in March 2021. Now working on Phase 2 which will make the display 16 row x 32 columns. Shouldn't take long. (Edit: famous last words).Unlike 98% of this type of "hobby" display, mine is high-intensity using 1 watt pixels (a pixel is combination of red, green and blue LEDS). Each consumes 100 mA at 12 volts.
I had three interations of the logic board to control this display, i.e. I made 3 different boards. The first had the Arduino off-board, the second had the Atmega 328 MCU (as used in the UNO) on-board with 23017 port expanders. Third board uses DM13 LED latches and 74HC540 driver ICs. (I actually had FOUR different boards...see Phase 2).
I first used 23017 port expanders and while this worked, it would be slow. And...I didn't have any libraries to use to facilitate getting graphics and scrolling text on the display. It would take me a year to write the software. So I scrapped this plan and mimicked an Adafruit 16x32 LED display conforming my logic lines to the HUB75 protocol. That way I could use Adafruit's excellent libraries not only for the panel but their GFX library they supply with all their graphic display sales. It worked!
Send Comments
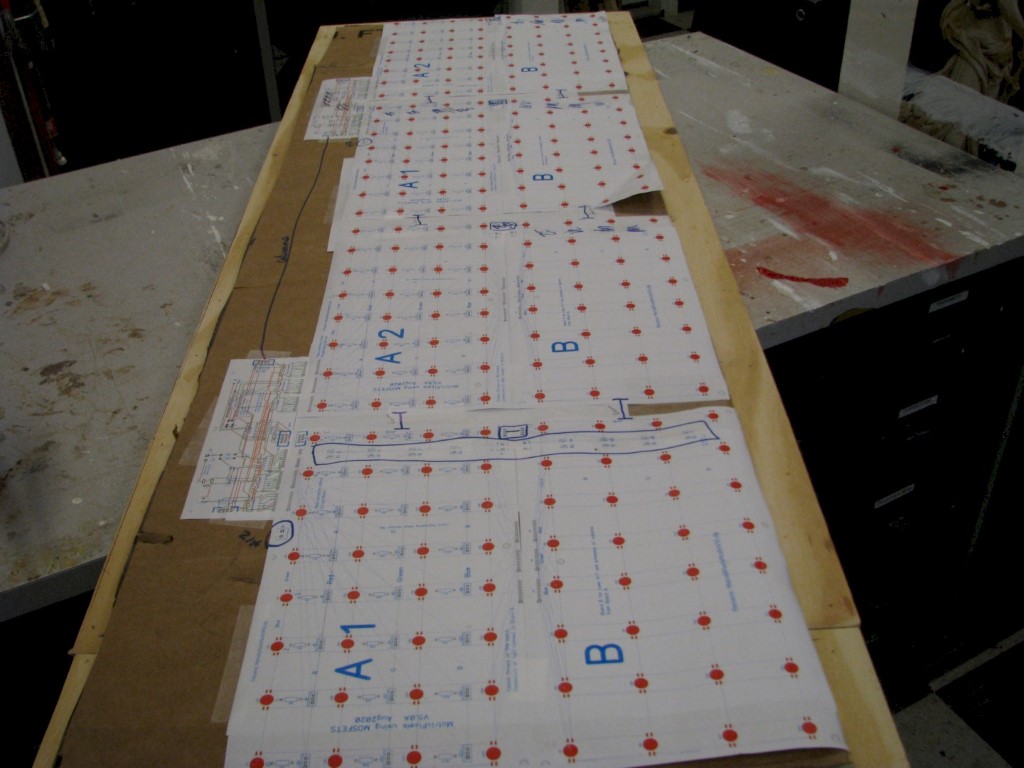
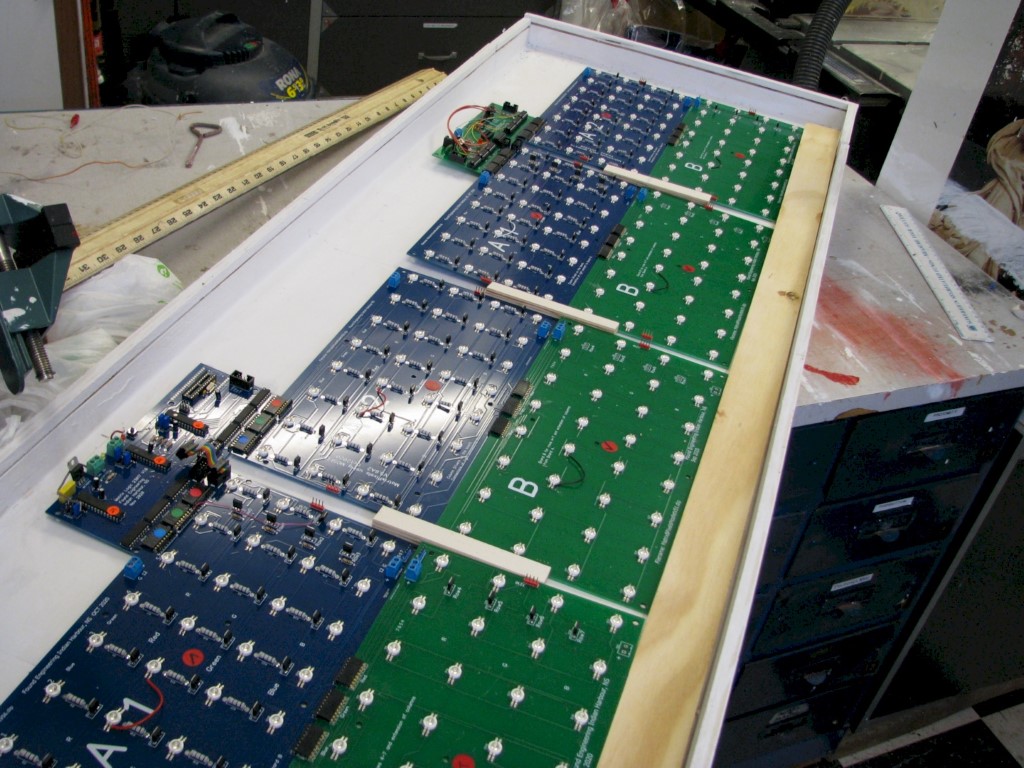
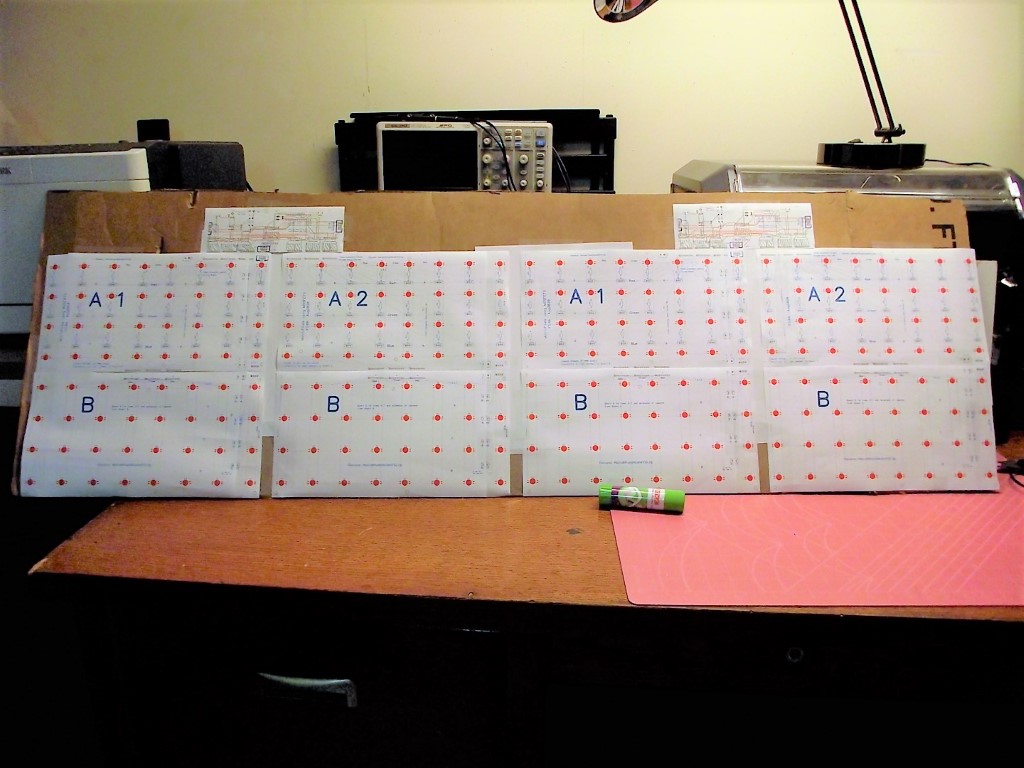
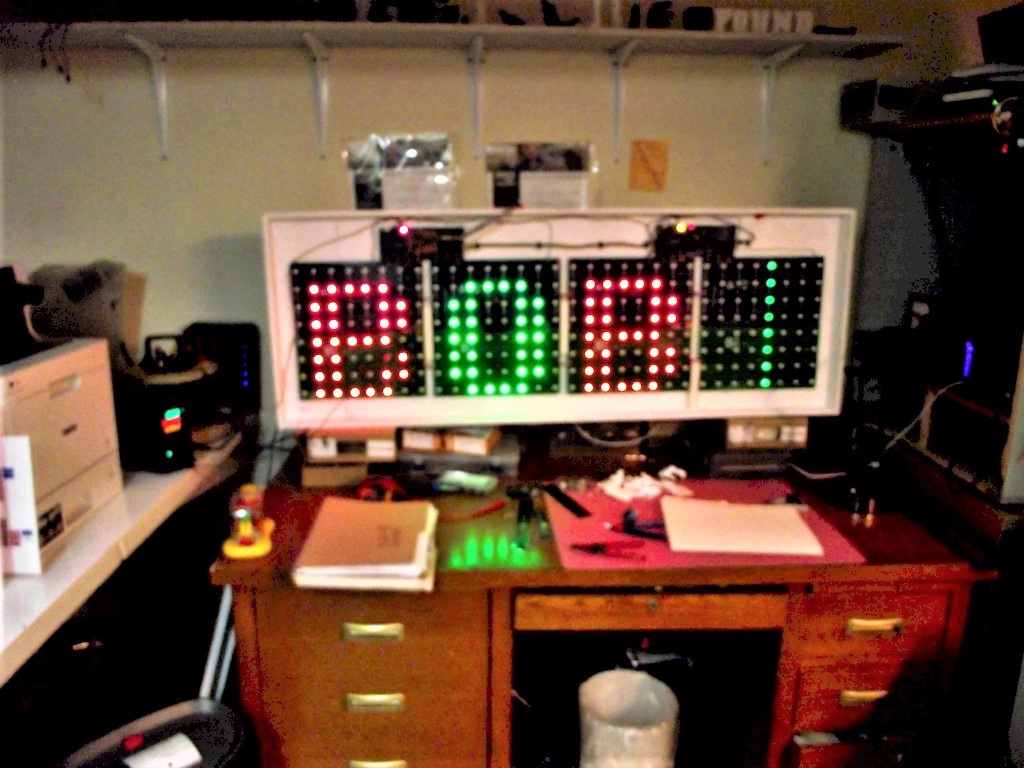
Phase 1 (8x32) of this project is complete. Phase 2 will see Phase 1 hardware duplicated, for an overall 16x32 Pixel display
HOVER over photo for description, CLICK for larger photo
.JPG)
.JPG)
